Whatever Strikes my Fancy.
  |
|
 |
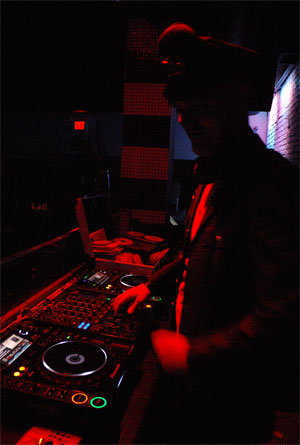
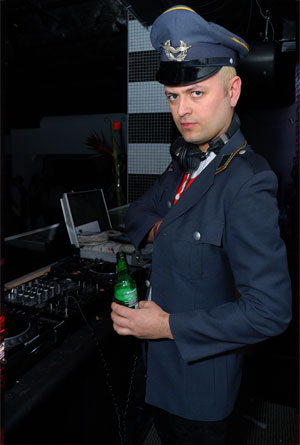
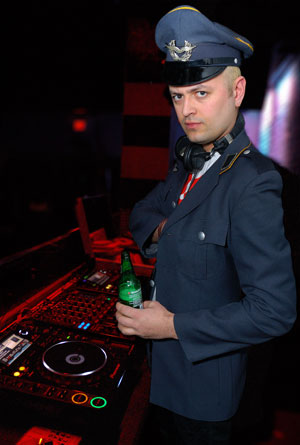
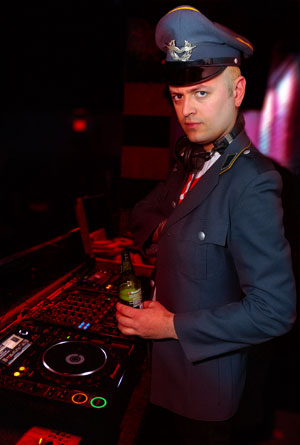
Above are two exposures of my friend Isaac, a.k.a. DJ Pandemonium, doing his thing at 560 Club last month, shot by another friend and fellow photographer, Michael Dicus.
The first exposure, with no flash, the lights on the DJ decks and in the background look great, but we can't see Isaac at all. In the second one, with the flash, Isaac is well exposed, but we lose all the interesting stuff around him.
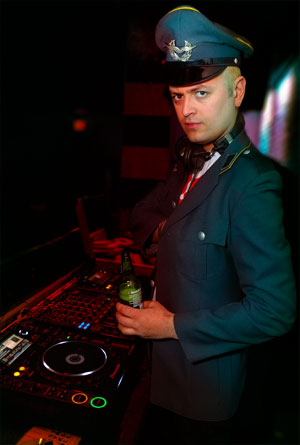
Michael was kind enough to upload these shots to my website, Gothic BC and I wanted something for the opening shot of the gallery for the night and decided an combination of these two shots would work. Enter the magic of Photoshop. |
This image is going to be the bottom-most layer
The second layer will be the picture exposed with the flash on.
Now I'll add a mask to the second layer and remove everything thing except the well-exposed image of Isaac.
When I done masking, the image to the left is the result.
So the superficial job of combining the two images is done, but just dumping the well-exposed image of Isaac on the interesting background looks pretty cut-and-paste and I want the image to look more "real." The first thing I want to do is get rid of the shoulder from the underexposed Isaac that is visible behind the well exposed one. Easy enough, I'll just copy the background in that section and apply a scale transformation on it, but doing that by itself ends up really obvious because the low-light exposure has some grain in it and scaling just part of it ends up with a different grain density and looks weird.
Now Isaac is looking a little more like he belongs in the picture, but something is still missing.
Step 1
Step 2
Step 3
 The black areas on the mask allow the underlying layer to show through. This is a lot easier than what most people do, which is trying to lasso the area they want and cut-and-paste. For one, if you mess up and block out something you didn't want to you don't have to start all over again, you just draw over the black on the masking layer with some white, which makes it opaque again, and try again. You can also vary the sharpness of the edge by using harder or softer brushes when drawing in the black.
Step 4
 The way I'll deal with this and add some more punch to the image is merge the scaled area back into the bottom layer and apply a lens-blur to the bottom layer. I really like the lens-blur filter, found in the blur section under the filters menu. What it does is simulate the sort of blurring you get with the aperture wide open, i.e. a shallow depth of field. To do this you have to tell Photoshop what is far away and what isn't. I find it easiest to do this with a masking layer, which you can see in the inset. Black is furthest away and white is closest, with shades of grey in-between.
Step 5
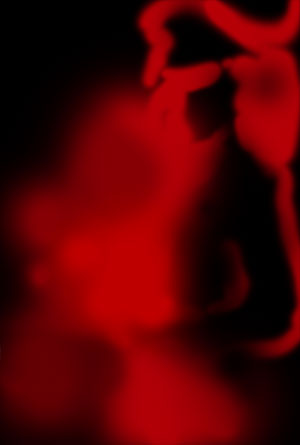 So now the background looks pretty good, but Isaac is still looking pretty out of place. Why? Because he is lit completely differently than his surroundings because of the flash. To fix this I added a "soft light" layer and using a very large and soft brush, painted on some "ambient" red light. The inset shows the red in the soft light layer, with the black being the areas that weren't drawn on at all and are actually transparent if you view the layer by itself.
Step 6
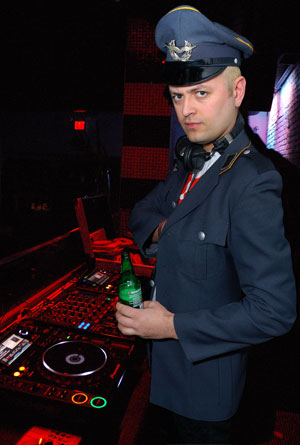
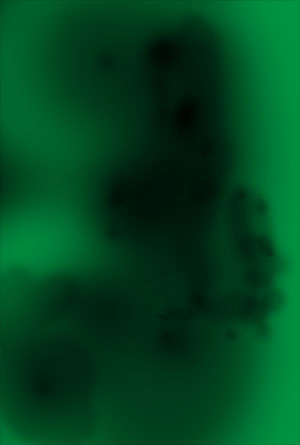 Isaac still looks pasted in as of Step 5 because the light on him is still too white for the dark surroundings. Drawing more red in doesn't help at this point because it just makes the whole thing look like it was shot in red light. This last step is the part that really makes the magic. I added another "soft light" layer and this time painted in green—180° away from the previous red on the colour wheel. The "ambient" green, "explains" the white light in the middle to the eye and mind and makes the whole thing look a lot more "real" than just the red.
Oringinal post: http://mbarrick.livejournal.com/916778.html